The Refurbishment of the Pitiful Ms. Green
Our studio owns roughly forty-five tutus. Forty-five pretty ruffled skirts, all hung in a pretty ruffle row, of which ONE is suitable for a Sleepy Beauty Fairy.
We do, however have four of these sad ladies.
Now, to be perfectly honest, this skirt is a mess. It's been spray dyed green, the net has gone soft, it was hooped with boning (ugh), and it's generally wrinkled and rumpled. So the first job is a little bit of demolition.
Ms. Green Goes To The Surgeon The basque on this skirt is just tired. They take a lot of abuse and this girl has had one alteration too many. Off it comes. I've left myself a 2 inch seam allowance to attach a new piece, and just cut the rest off.
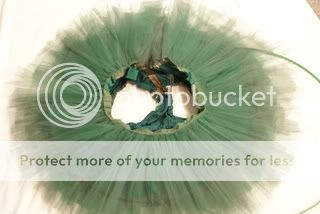
Next, remove the embellishments and flip the tutu over. By removing all of the tacks that hold the ruffles together, I've opened the skirt up so that I can remove the hoop and access each row individually. Eventually I will need to straighten, steam, and starch each row, but that's for later.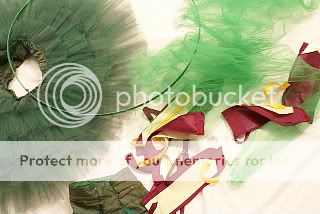 TUTU CARNAGE! ACK!
Ms. Green Receives Life Support
Now I'm going to cut some new layers of frill (ruffles) for the Pitiful Ms. Green. These will be added in between the original layers, to give our skirt added fullness and help support the tired older net.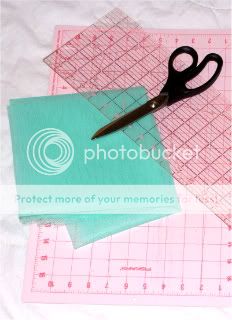
If you decide to give this a try, you will need:
* Approximately 5 yards of good Tutu Net
* A good pair of scissors
* A cutting mat of some sort, preferably marked with measurements
* Something to hold down the net while you're cutting. I use a rotary ruler, but a book or magazine works just as well.
For anyone using a rotary mat and ruler, the temptation is there to use your rotary cutter too. Fight it. Seriously. I've found net almost impossible to cut that way and it completely destroys the blade.
The net I'm using is not the nylon craft net you get at your local fabric store. Spend the extra 25¢ per yard to get the good stuff. You can find it at tutu.com in lots of colors. I started by opening the skirt to the place where I will be stitching in the new ruffles, and measuring the layers above and below. In this case the rows were 12 and 10 inches. My new row will be 11, so that it fits nicely between them.
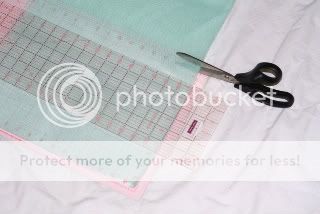
For each new row of ruffles, I cut five widths of net. Five strips, 11 inches wide. Five strips 8 inches wide. Etc etc.
You can save yourself a major headache by rolling each set of five as you go so your lengths don't get mixed up. I learned this the hard way. 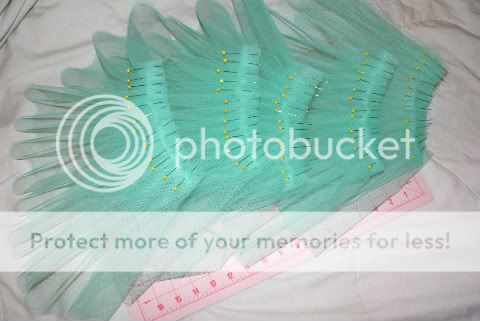
Working with one set of strips at a time, it's time to gather or pleat each row. If you're feeling brave and want to make hand pleats, there's a great tutorial HERE ON YOUTUBE. If you prefer the less uniform look, you can gather each section with two rows of basting stitches, just like you would any other ruffle. Each section should gather or pleat down to around 6-8 inches.
Run a quick stay stitch across each gathered edge to keep your fabric in place.
Next Up: Ms. Green Gets Stitches
0 comments:
Post a Comment